There are loads of reasons why to create a custom input type. Maybe you want to create a color-picker or you want to create a dropdown which provides options based on a JSON-feed. No matter what you want - here's how to do it.
Note that in this tutorial we're not creating a custom data-type, but a custom input type. This may be confusing at first, so here goes:
Difference between a custom Data-Type and a custom Input-Type
Basically a custom input type is just a different UI to add a string, number, date, etc. while a custom data-type could store something completely new. So a custom data-type would store neither a string nor a number, but maybe a combination of numbers - like GPS-coordinates which needs two numbers. This blog is about custom input-types, custom data-types come later…
There's an App for that
Just fyi - I created an App to demonstrate everything I explain here. So You should still read this, but check out the settings etc. in the demo app which should help you understand it better.
The Overview
Basically we'll go through the following steps to set this up
- Register this input-type in the system so it becomes available
- Create the necessary javascript which will create the UI for the content-type
Registering the Input-Type
All input-types are registered in the system as entities of the type ContentType-InputType. All predefined input-types are registered in the central list but the content-type is available as Ghost-Content-Type in every App. If you need to know more about Ghost-Content-Types please read this blog.
So let's start
- In the data / content administration, change scopes to see all the content-types in the System-Scope the short version I'll explain here, but you may want to read more about it here:
- Open the admin-dialog and change to advanced mode using ctrl+click
- Hit the scope button (the round one) and enter System - you should now see the system content-types
- Create a new entity of the type ContentType-InputType registering your type
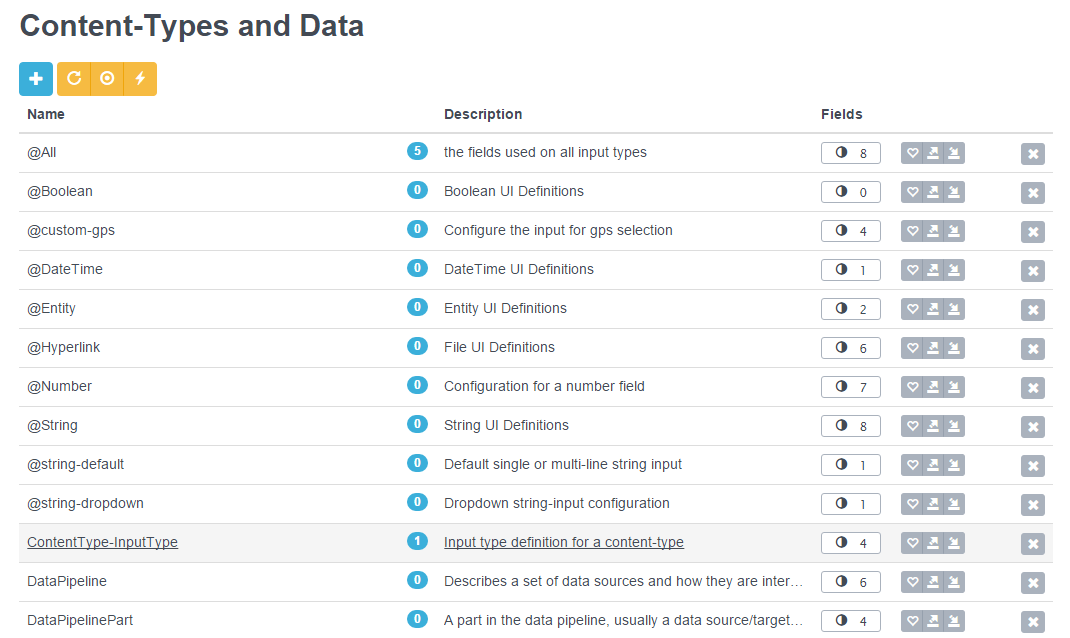
You you can see what I configured in my demo input for numbers, providing a dropdown showing fibonacci-numbers. 
The Fields when Registering your Input-Type
- The Type of your input-type is very important.
- It must begin with the data-type and a "-" and continue with something of your choice.
- Note that you should NOT create a "string-colorpicker" because maybe one day the system will also provide a "string-colorpicker" - so you should always make it unique - ideally using your company name like "string-yourcompany-colorpicker" or similar
- Also note that the name MUST be in lower-case
- The Label is the information shown later on in the drop-down. Remember that this value is shown after the user picked the data-type - so you don't have to write "this is a string…" since that was already selected.
- The Description be shown in the tool-tip as an additional help
- Assets is a multi-line field containing all the additional files which must be loaded for this content-type. It could just be some CSS (in which case you would only inject some styiling) but in most cases it would be some javascripts.
Recommendation For Assets
Basically you could include a long list of assets - like some libraries, some JS and some CSS - but you shouldn't. Too many assets slow down the UI and degrade the user experience. The best implementation has as few assets as possible, ideally just one. Modern development paradigms using Grunt will help you achieve this.
Creating the JavaScript
Assuming you have some JS - and you should, unless your buliding upon the data-type empty (like creating an empty-yourcompany-make-it-all-red) then you should do the following things
- You must register the type in the form-engine (Angular-Formly)
- You must tell the engine what an input-field looks like - this can be a simple "hello, nothing to do here"
Just to keep things simple - please take a look at the sample-app. Since most DNN developers are not versed with Javascript, AngularJS or Formly, this may feel a bit scary till you see the sample code.
More Background: AngularJS and AngularFormly
So to get started it's important to know that our dynamic UI is built using AngularJS and Angurlar-Formly. This is a very advanced framework for forms and is fairly easy to use once you know what you're doing :). But to help you start I would like to tell you a few more things
- Angular Parts are called modules. If you see code which says angular.module("…", […]) this creates a new module - which is exactly what we'll do.
- Each module contains things like initialization (run), configuration (config), view-controllers which initialize a view (controller), services (factory) and more. The syntax is always [module].thing, usually abbreviated into a chain of angular.module("name", [dependencies]).config(…).run(…).controller(…) etc.
- The order of things is important - run will be executed once at the beginning, config even before that. If you want to know more about this you should read [todo]
- We just want to start by telling Formly that our new code handles our input-type - which we'll do at config-level. Look at the code examples is the app
- Then we want to ensure that the data-binding works. For trivial cases we'll just use the ng-model="value.Value". If you stick to this, most cases will just work automatically including multi-language editing.
Power Tip: Advanced Wrappers
Angular-Formly uses a concept called wrappers which are html-fragments which will wrap your input-component. Each wrapper should do one thing and one thing only - so the current default wrappers (2sxc 8.0) contain these four wrappers:
- Error-message
- Label
- Multi-Language
- Show-Hide if disabled
We'll add more wrappers as functionality increases, and in most cases you'll want to stick to the default wrappers using the config-method shown in the demo-app.
But there are cases where you will want to deviate from this - like if you input-type does not support disabling. I won't document the details here but if you really need this I'm sure you'll figure it out.
Tip: Avoid jQuery if possible
We worked hard to create a dynamic input dialog which does NOT need jQuery because it slows down the UI, has bad programming style and bad side effects (see [todo]). Very often you may be tempted to quickly use a component which needs jQuery - and if necessary you can (just remember to include jQuery in your JS). But try to avoid it - because there is no real reason to and you'll regret it some day in the future. Almost all JS plugins developed today also exist in a non-jQuery edition, so we really recommend to use those.
Tip: Advanced Functionality and Data-Binding
The simple case just binds the value.Value in a 1-to-1 fashion. You can do much, much more if you want to - but you'll need to dive deeper into AngularJS and Angular-Formly to do that. So you can do everything, but of course you'll need to learn these frameworks.
Love from Switzerland,
Daniel