Discover how easy it is to create public forms using 2sxc for directories, showcases and more - while still fully in control of security.
Example Story
In this example we're assuming that you have a directory of partners, and people can submit their own entry for you to review and release.
We created a demo-app for this which you can download it in the app catalog or view the code on github.
Preparations
Before we look at the public form, here's what we already did:
- create the app
- create a content type "Partners" with Name, Logo (files), Description (wysiwyg), Photos (files) and Showcase (files)
- configured each file-field with the files we expect (png/jpg or pdf)
- created two demo items
- created a template/view showing all items
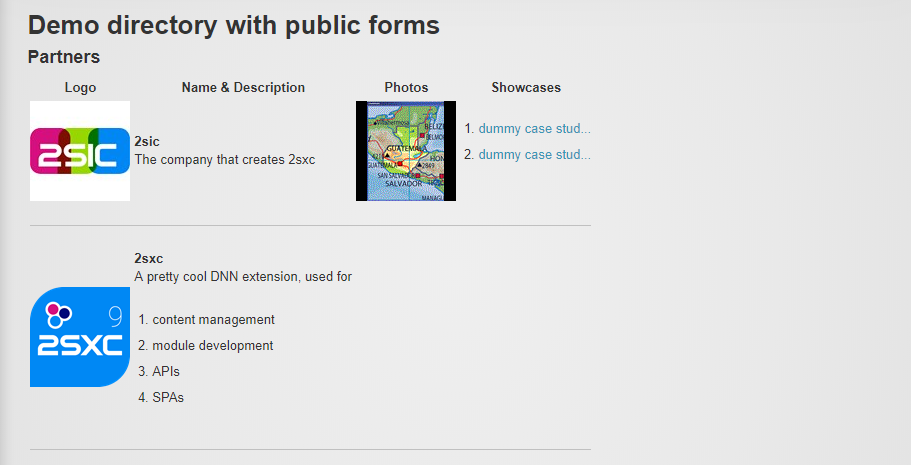
Here's what it looks like before we start the public form:
Adding a Button
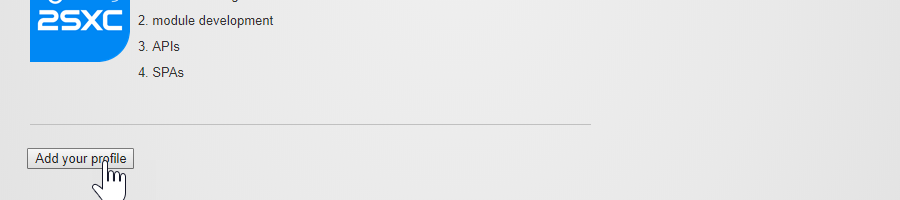
First we'll add a button in HTML - it won't do much yet:
Now we'll add the code, using the new $2sxc.cms.run(...) command. This will return a promise when the dialog closes, so we'll get that and show an alert when it's done:
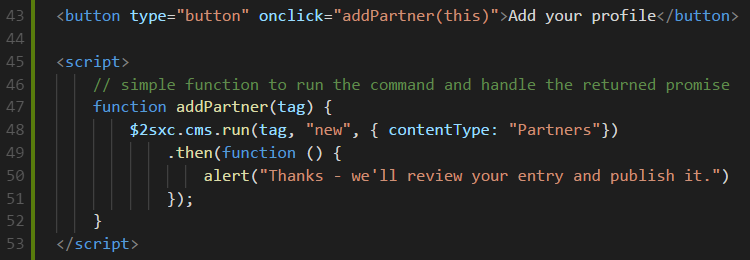
Clicking this button as a host/admin will work, but nothing will happen for public users. This is because various scripts etc. aren't loaded yet. To ensure this, we'll use the new @Edit.Enable(...) command:

Activating the Features
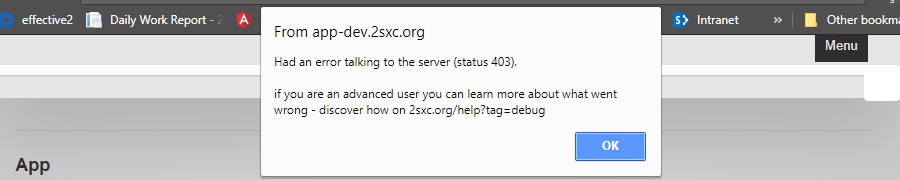
Typically you'll now see an error, because the features are not activated yet:
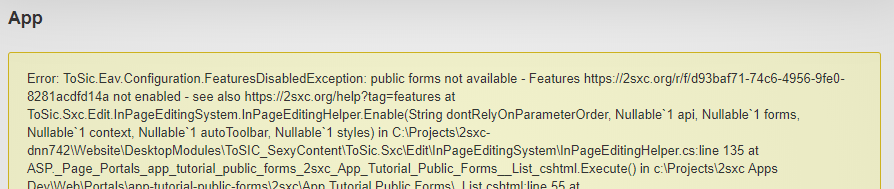
So to activate them, we'll do as instructed in the links in the error, which is basically following the instructions in this blog about managing features:
Let's start by going to Features Management:

...and enable the features we need:
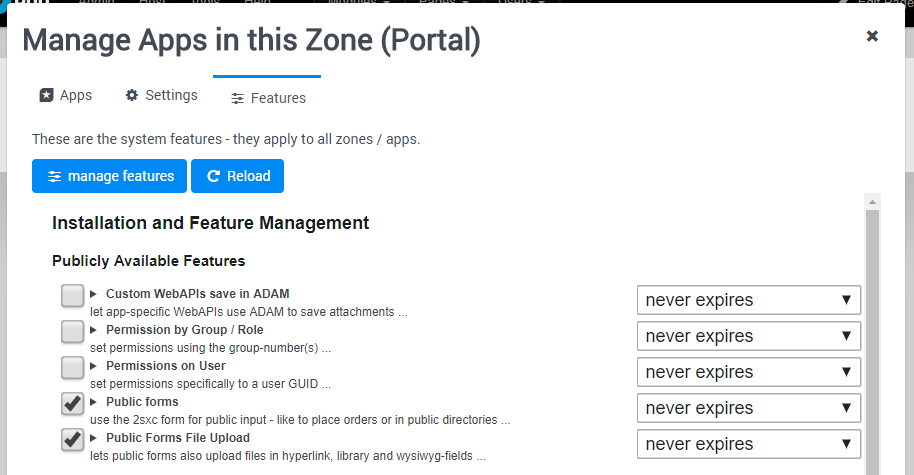
...and when we've activated them, you'll see something like this:
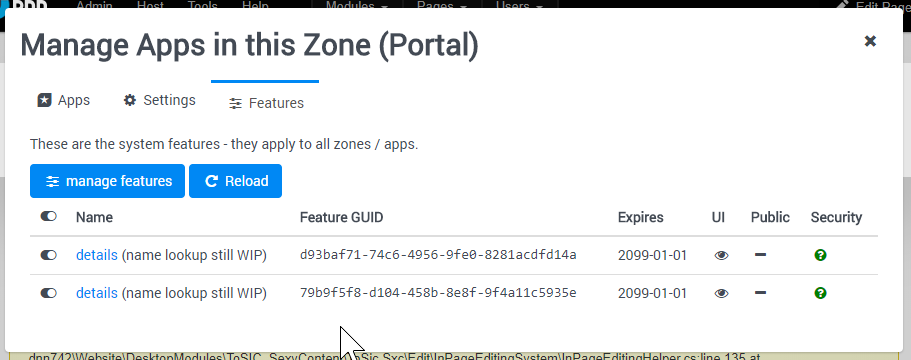
The error will now go away.
Setting Permissions
If you now use Chrome in anynomous mode you won't see an error, the button will do something, but you'll quickly run into the next error, because you haven't set permissions yet (discover more about permissions in the wiki):
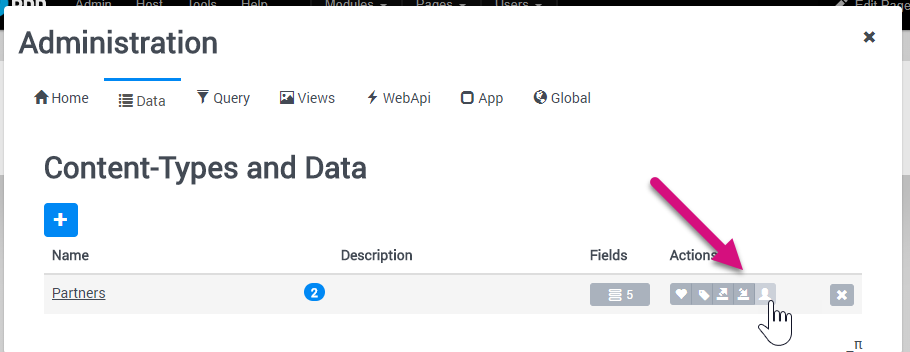
So let's go to the content-type permissions:
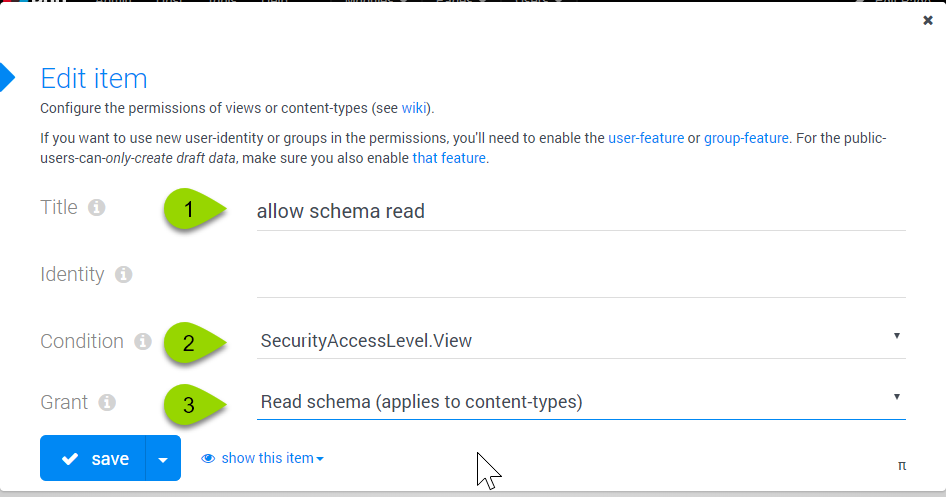
We'll first have to allow Schema-Read. This means that a public user is allowed to ask the server, what fields are available:
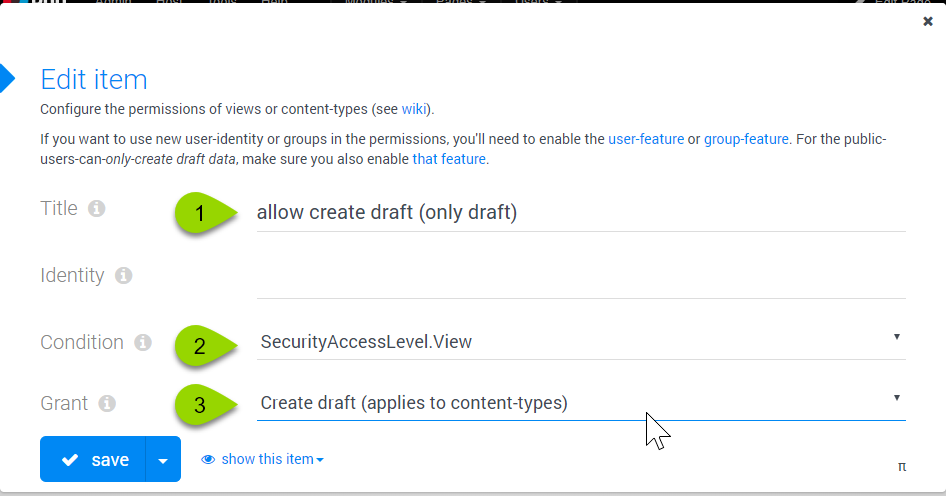
Next we'll enable that a public user is allowed to create data - but we'll restrict it to draft data, so that new items don't show up in the list:
Once you did this, you should see these two permissions set for this content-type:
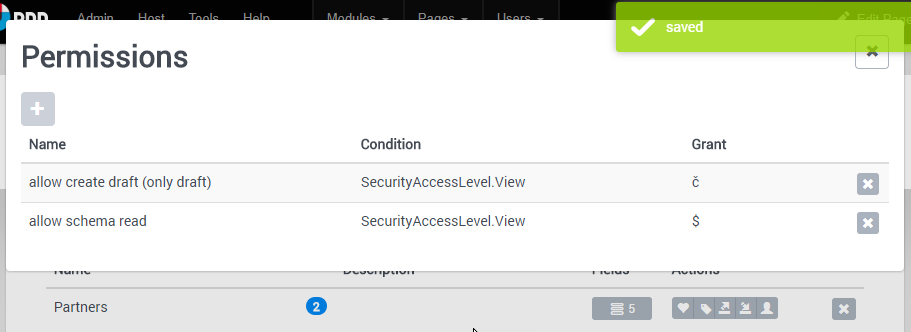
OR you can simply add one permission with CRUD on draft (create, read, update, delete).
First Public Use
Again open this in another browser or in anonyomus mode. The form will now seem to work:
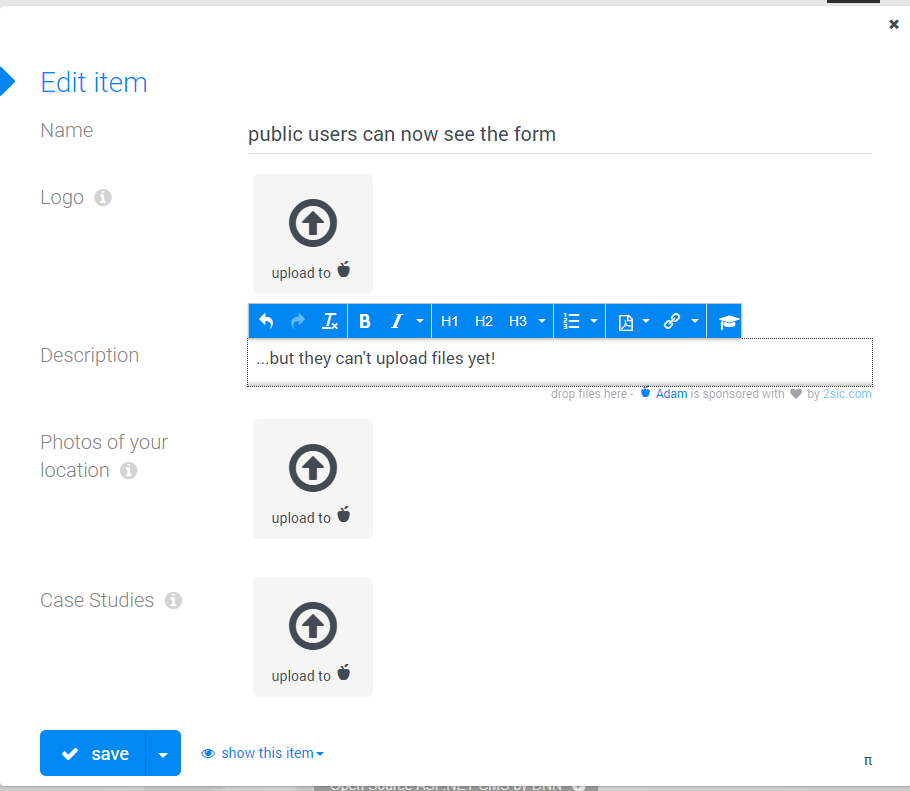
Adding Upload Permissions
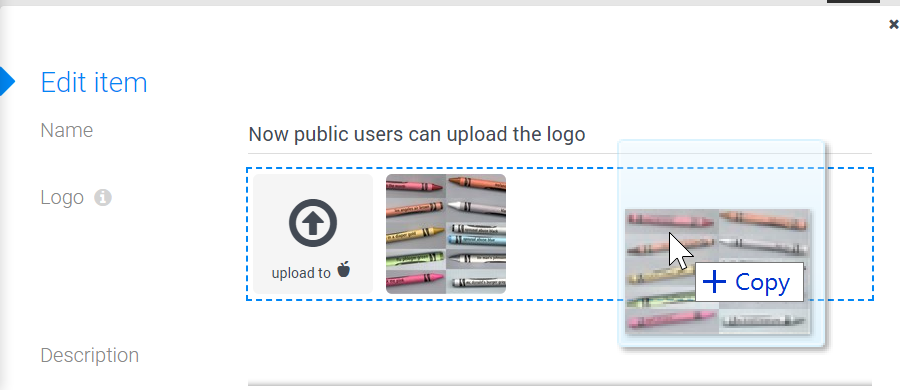
What you'll notice is that uploading fails - like this:
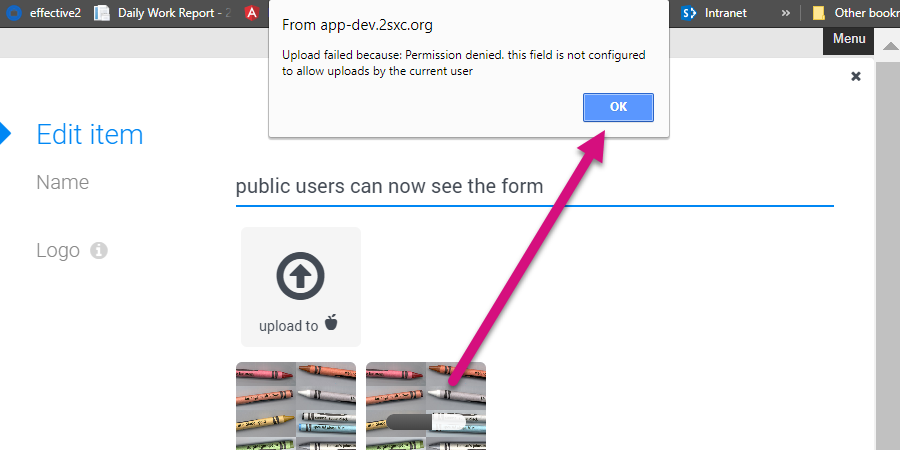
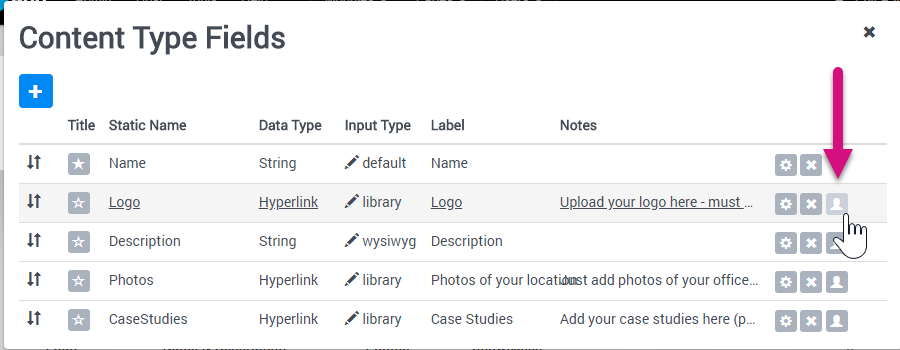
...this is because upload permissions must be granted on each field that should support upload. This allows you full control of who can upload / update what information. Let's go to the fields, you'll notice a new permissions-button on fields which have an ADAM upload:
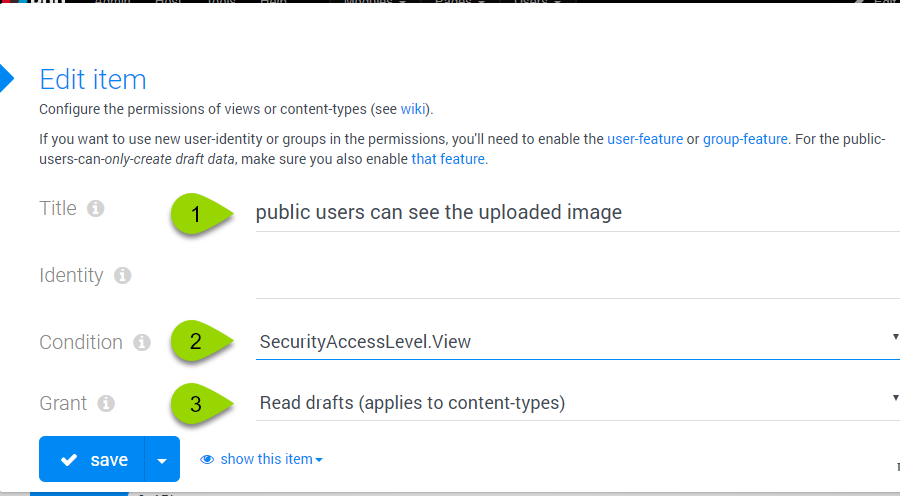
For this to work, you typically need to give create & read draft permissions, because otherwise a user would be able to upload, but not see what he just uploaded. Here are the read-permissions:
...and the upload permissions, resulting in these two permissions:
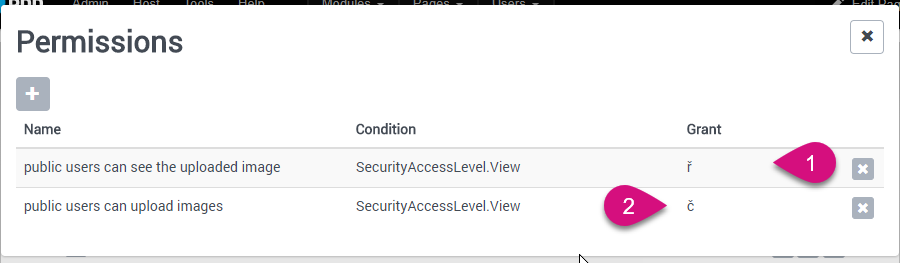
Upload will now work like magic :)
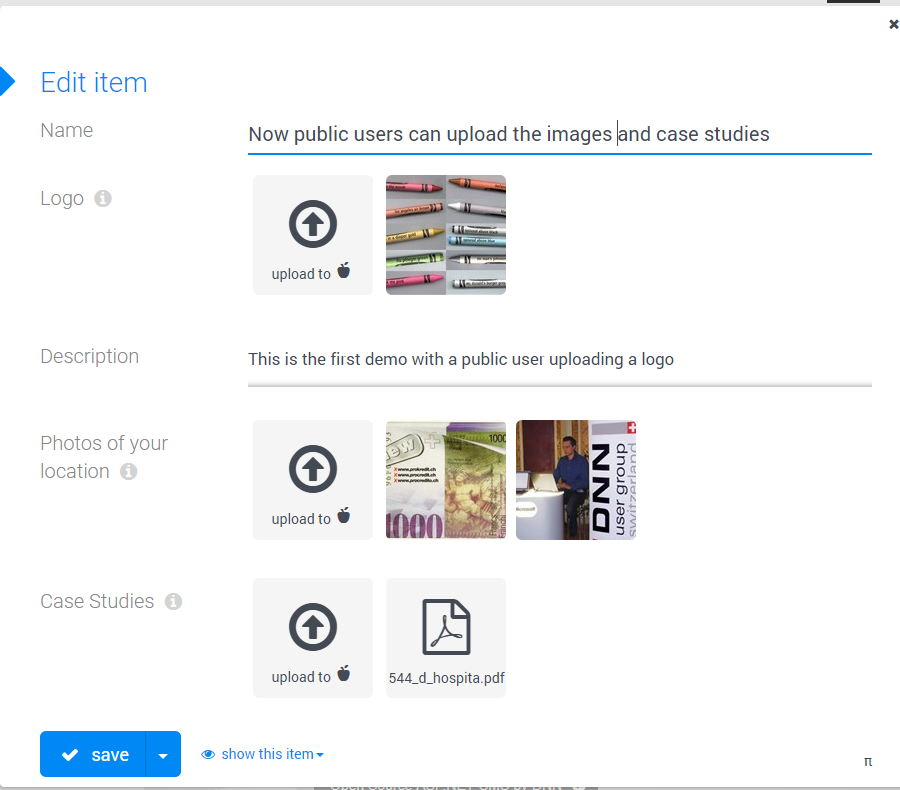
Repeat for other Upload fields
until it works like this:
Custom Thanks
The example we just made will show this when you press save:

...this is because of the JavaScript in the beginning. You could also do redirects or anything else as you need it.
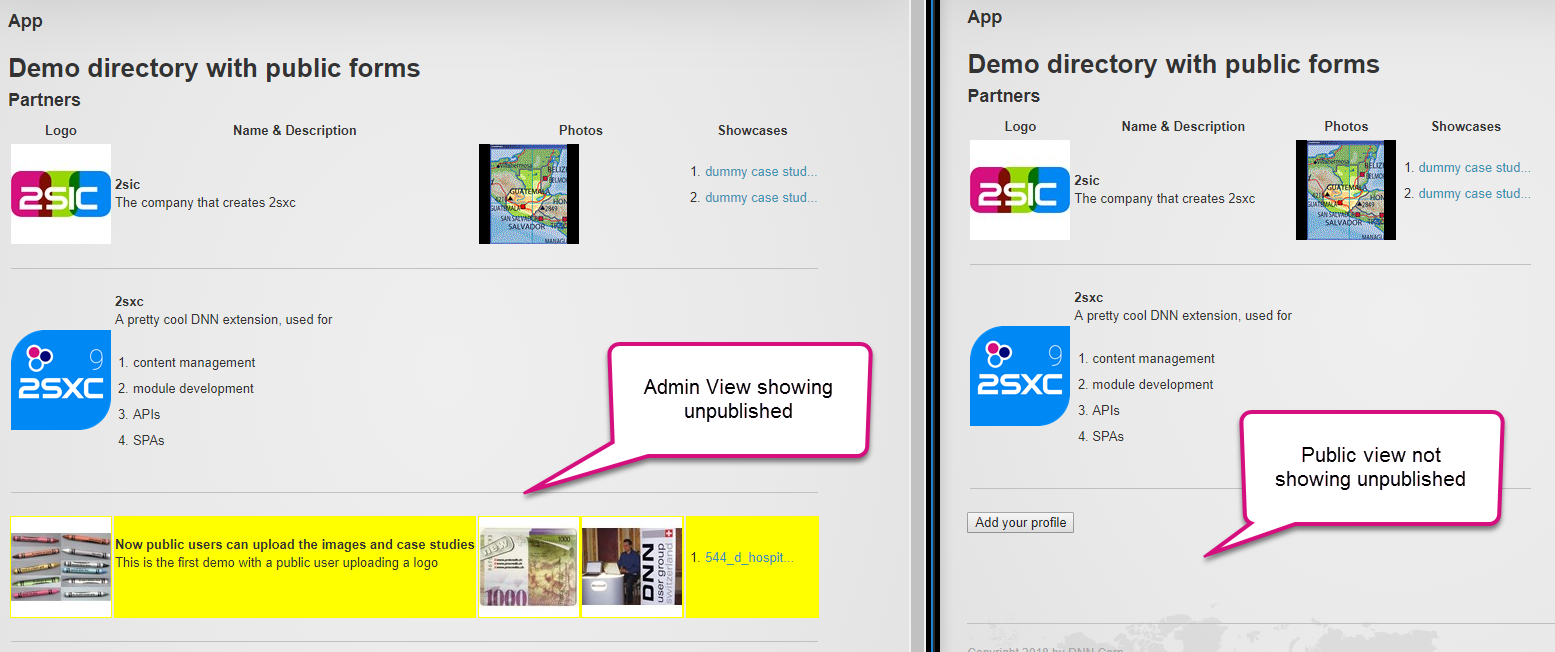
Managing Draft Data
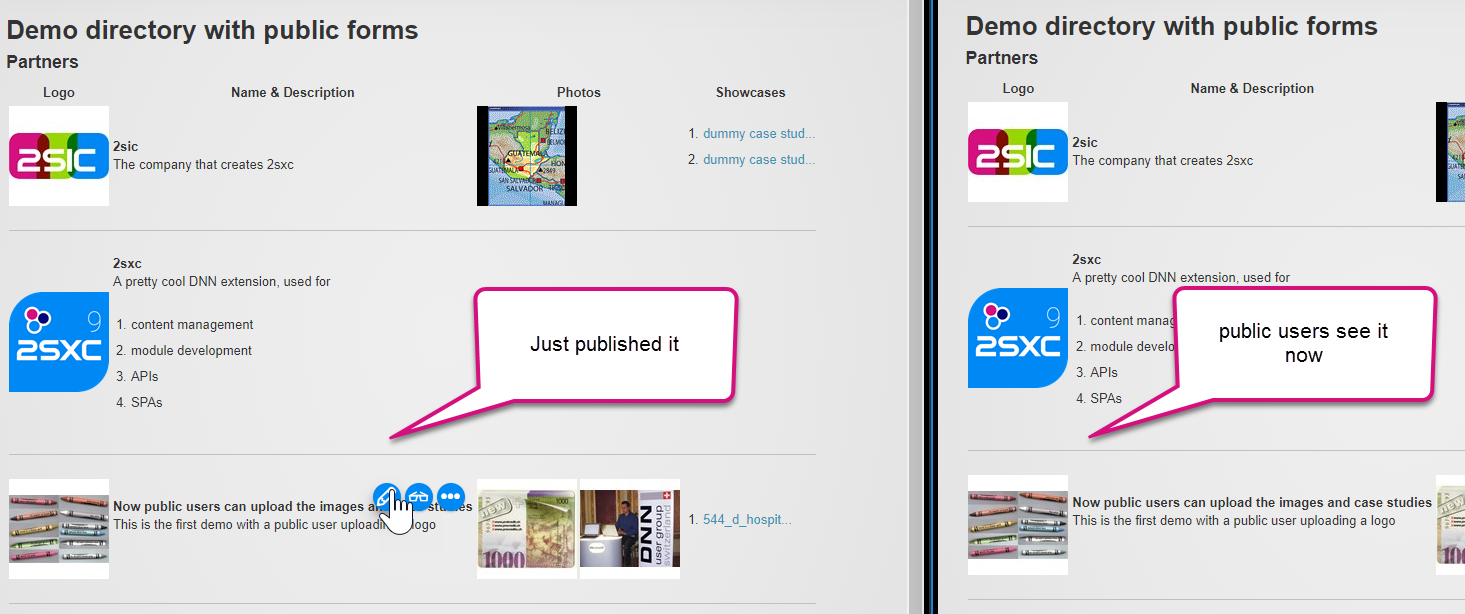
You'll see that in the demo app, we added something trivial to highlight items which are still draft. To the left you can see the browser in admin-mode, to the right in anonymous mode (not showing the item at all):
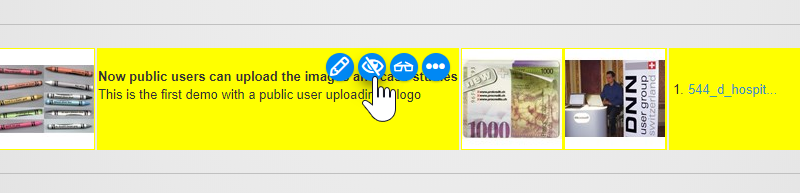
The admin will see the publish button in his hovering toolbar, like this:
Once it's published, both admin and visitor will see this item:
TL;DR
So that's how you get it to work. Remember - you can always download the app, browse the code and github and just give it a try, and work your way up from there.
Love from Switzerland,
iJungleboy