Now you have a custom DataSource - let's distribute it as a DNN Extension.
This is part 4 of the Tutorial for custom data sources. Please read the other 4 parts before continuing:
- Part 1: The most basic DataSource delivering 1 item
- Part 2: Creating lists which come from elsewhere
- Part 3: Unit Testing DataSources
- Part 4: Creating a distributable DNN package with your DataSource
- Part 5: Giving the admin a configuration UI
The Result: A Standalone DNN Extension
So you see where we're heading - here's the installable ZIP from the Github repo, which is a standard DNN extension.
If you install it, you'll get it as a part in the Extensions - which looks like this:
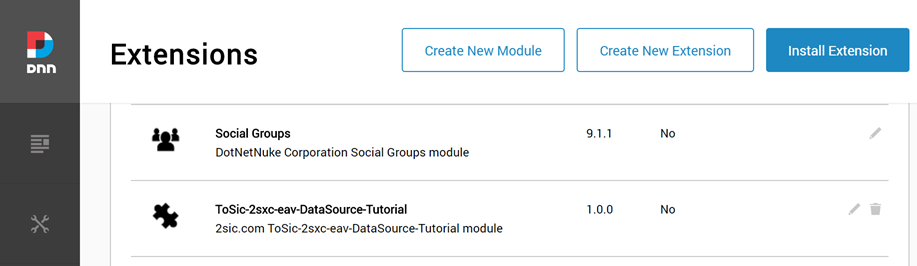
From then on, you can just use it in the visual query designer. So how did we build it?
Step By Step a DNN DataSource Extension
Processs for Existing Extensions
If you already have an extension like your own DNN module, you can just add the DataSource to that project. Then the step-by-step is:
- Open your project in VisualStudio
- Add a new class as explained in the previous parts of the tutorial
- Recommended: create test-code as well to unit-test the DataSource in a separate project but same solution
- Build
- Test / Deploy / Share
That was super easy. But what if you want to create a brand-new, standalone DNN Extension? Let's check that out.
Process for New Extensions
If you just want to create a standalone DNN Extension containing a DataSource, then you want a very small extension. Here's how the overview:
- Create a DNN Extension project using Chris Hammonds awesome DNN C# DNN Module template for VisualStudio
- Remove all the parts we don't need
- Get the MSBuild to work
- Add your DataSource code
- Recommended: create test-code as well to unit-test the DataSource in a separate project but same solution
- Built
- Test / Deploy / Share
So let's get into the details.
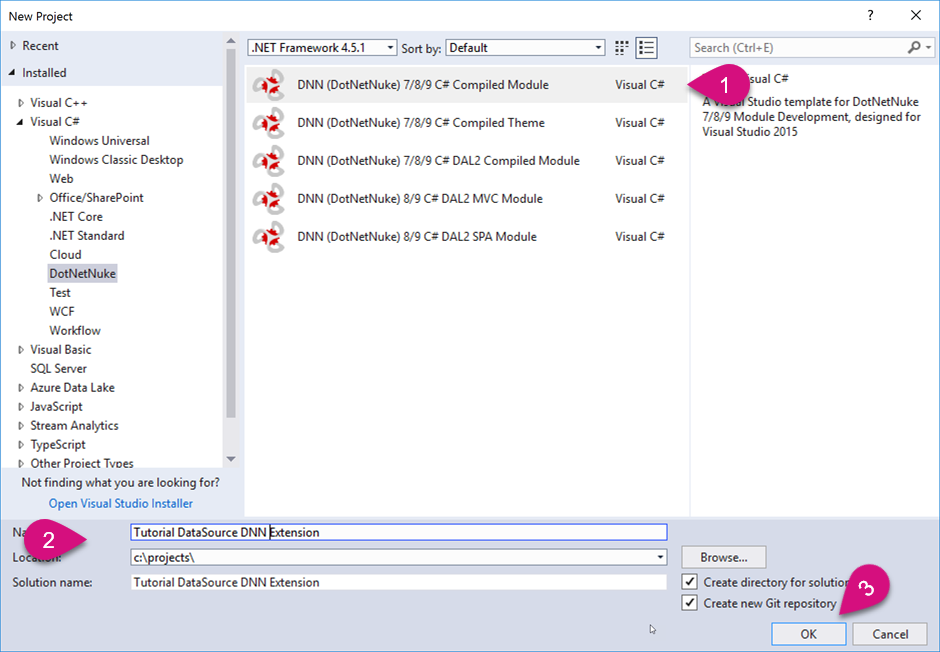
#1 Create New DNN Extension
As mentioned, best start with Chris Hammonds system - which means you should install the VisualStudio DotNetNuke templates and restart visual studio. Then you should be able to create a new project like this:
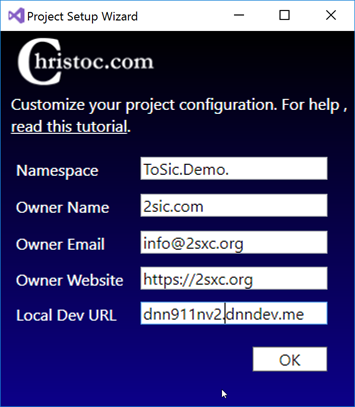
You will then be asked to add some details, like this:
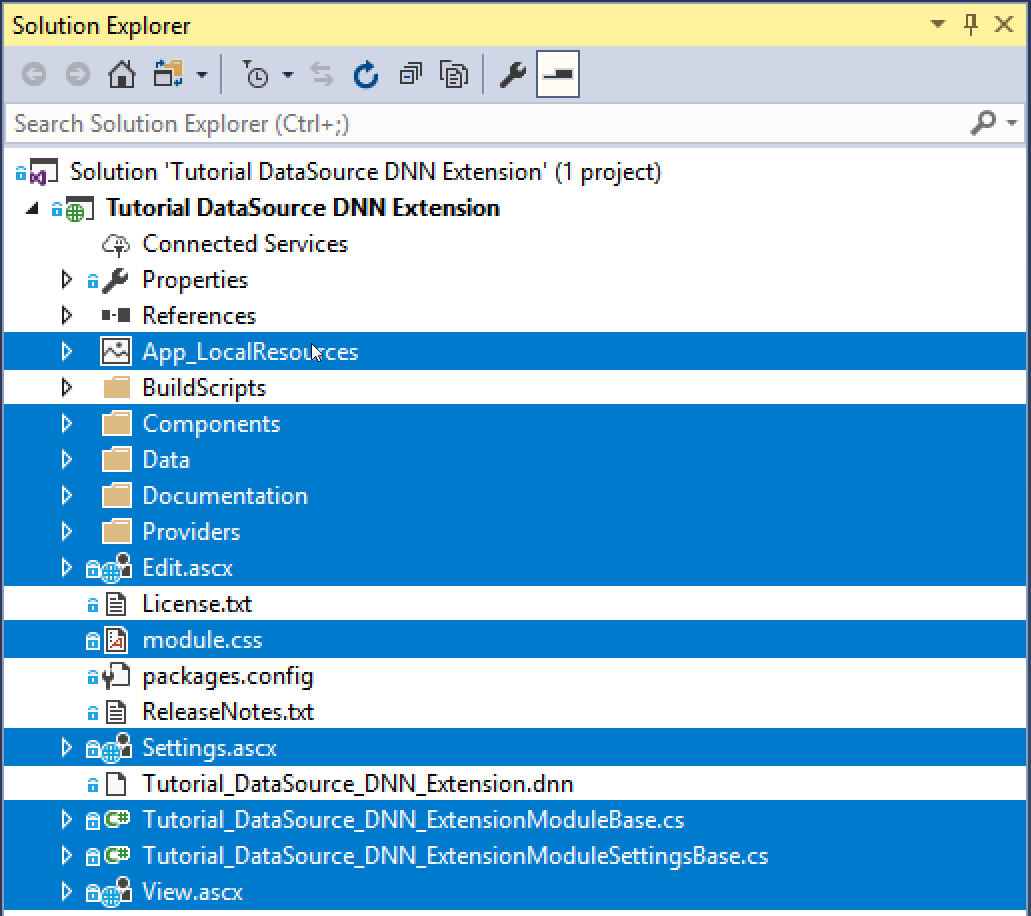
#2 Clean Up Unnecessary Parts
You then get a nicely prepared VisualStudio solution, but most of the things we don't need. In the following picture you can see everything you can delete:
#3 Get MSBuild to Work
Next, we must ensure that MSBuild.Community.Tasks.XmlRead works, because otherwise we cannot build the solution in Release mode (you'll see errors). To do this, we must restore the NuGet Package:
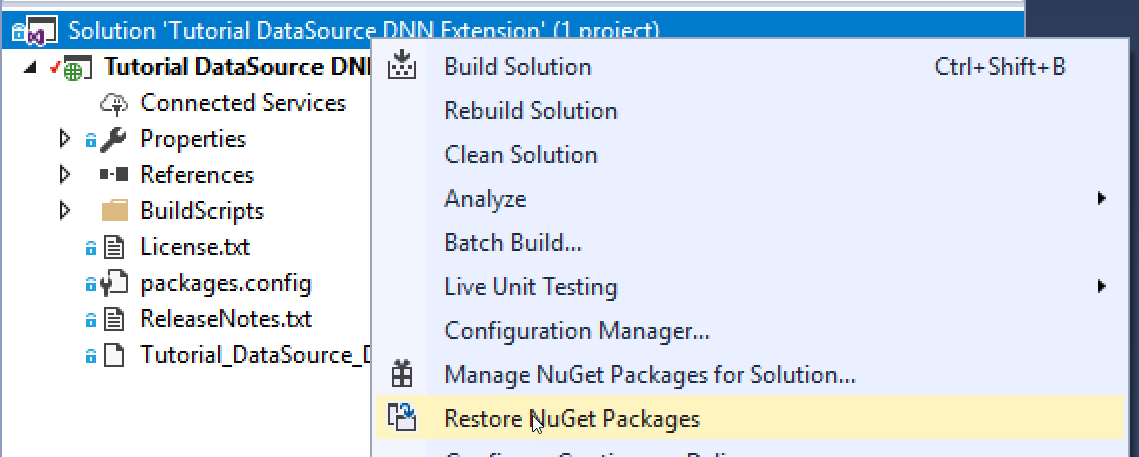
Important: You must now restart VisualStudio!!!
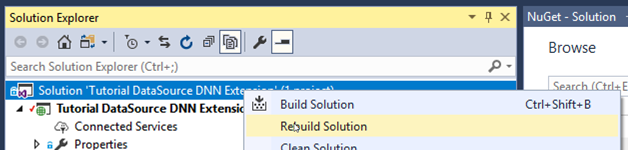
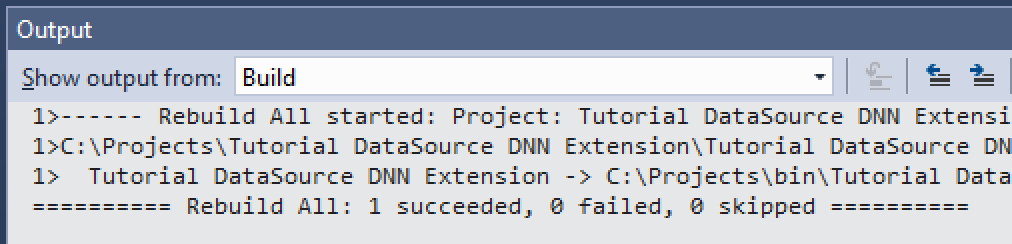
AFTER restarting VisualStudio, you should now be able to rebuild the solution:
resulting in
#4 Adding Your DataSource
You can now begin creating your class. Just remember to add references to these DLLs
- DotNetNuke
- DotNetNuke.Web
- ToSic.Eav.Core
- ToSic.Eav.DataSources
- ToSic.Eav.Tokens
#5 Recommended: Unit Tests
If possible, create a Unit-Test project in the same solution, to run your tests. You can find samples in the tutorial DataSource solution on github as well as in our FormAndList DataSource Module on github.
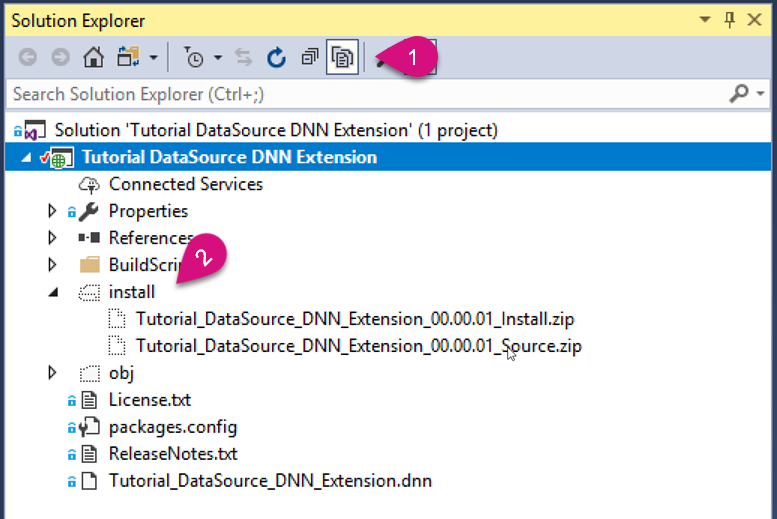
#6 Build
If everything works now, you can build your solution and you're good to go :). At first, you may not find the resulting file. It's in a folder which VisualStudio usually doesn't show. So click "Show All Files" and there you will find it:
#7 Test / Deploy...
If everything works, you're good to go. Please share with the community :)
If you run into any issues, check out the examples, especially the FormAndList DataSource which is a production grade distribution.
Note: you may run into the following problem I had: for some reason (I don't know the details) VisualStudio may change your DesktopModules folder of your test-system (on the dev PC) to be a virtual folder. In this case, you'll run into error messages in DNN. If this happens, you'll see in the IIS that the DesktopModules folder has an icon on it:
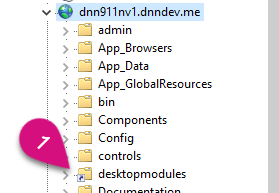
IF you have this issue, just delete this folder in IIS. As it's a virtual folder, it will simply remove this "overload" and the normal DesktopModules will work again.
...Share
As always - remember that you're benefiting from thousands of hours of people working for free. The least you can do is give back.
Love from Switzerland,
Daniel